Time on the ice is limited, but this is not reason for not training.
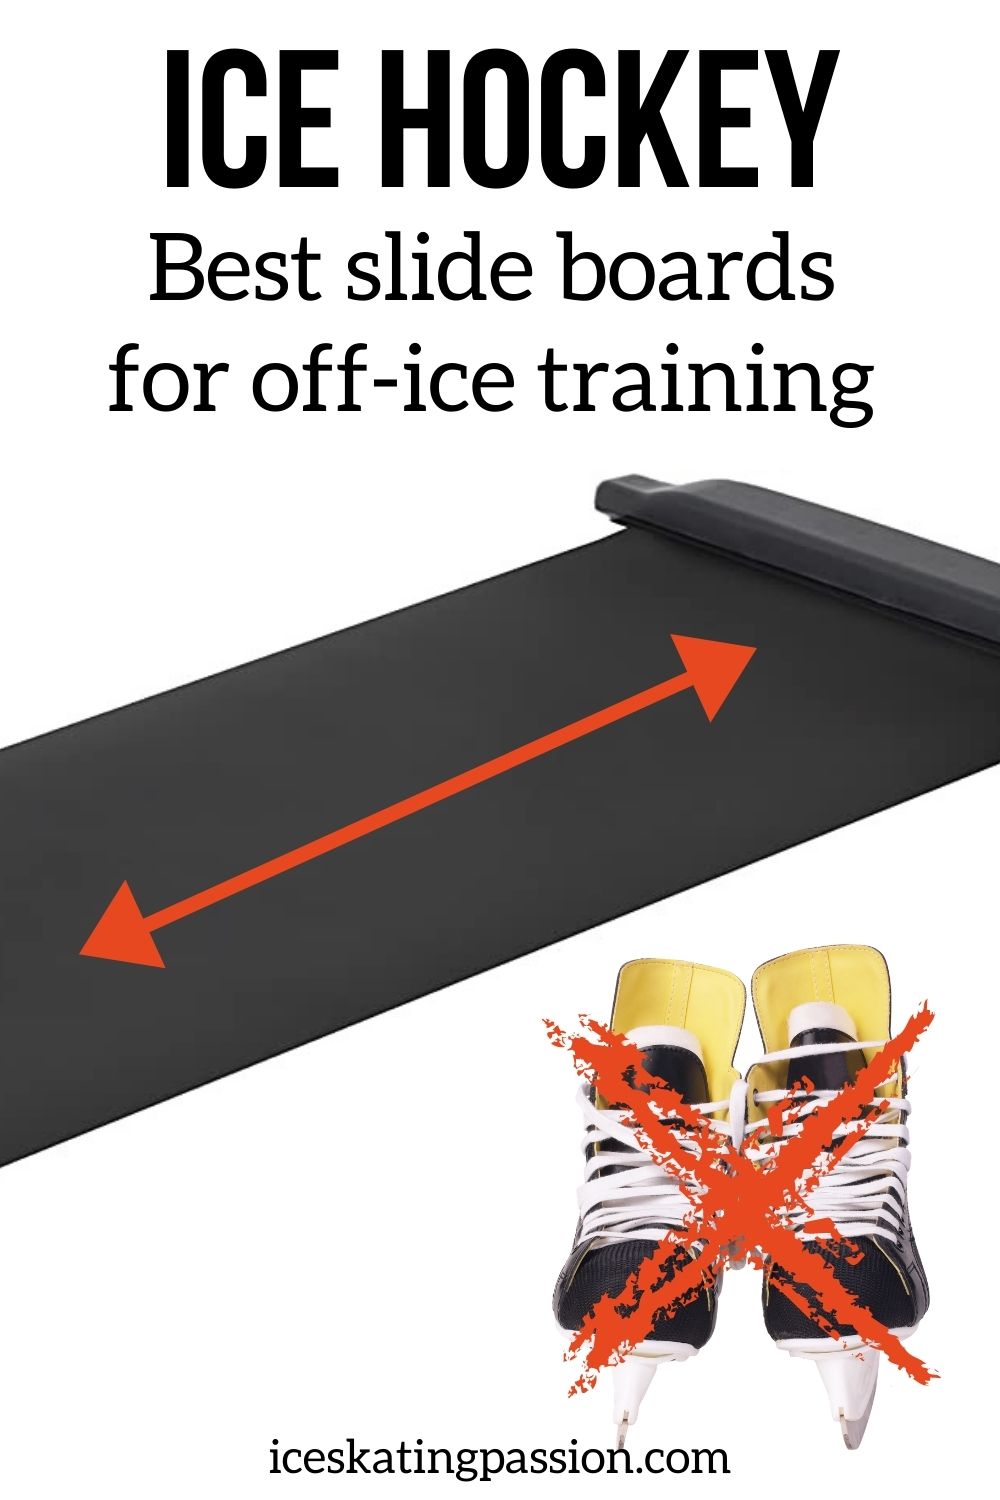
To strengthen your full body, build your skating muscles and improve your balance, consider the following best slide boards for hockey training off-ice.
Plus, I list some examples of exercises.
This article may contain affiliate Links (info on the Disclosure page). If you purchase using my link, I get a commission at no extra cost to you.
Best slide boards for hockey training - Summary
Want to improve your ice hockey game, even if you have limited time on the ice.
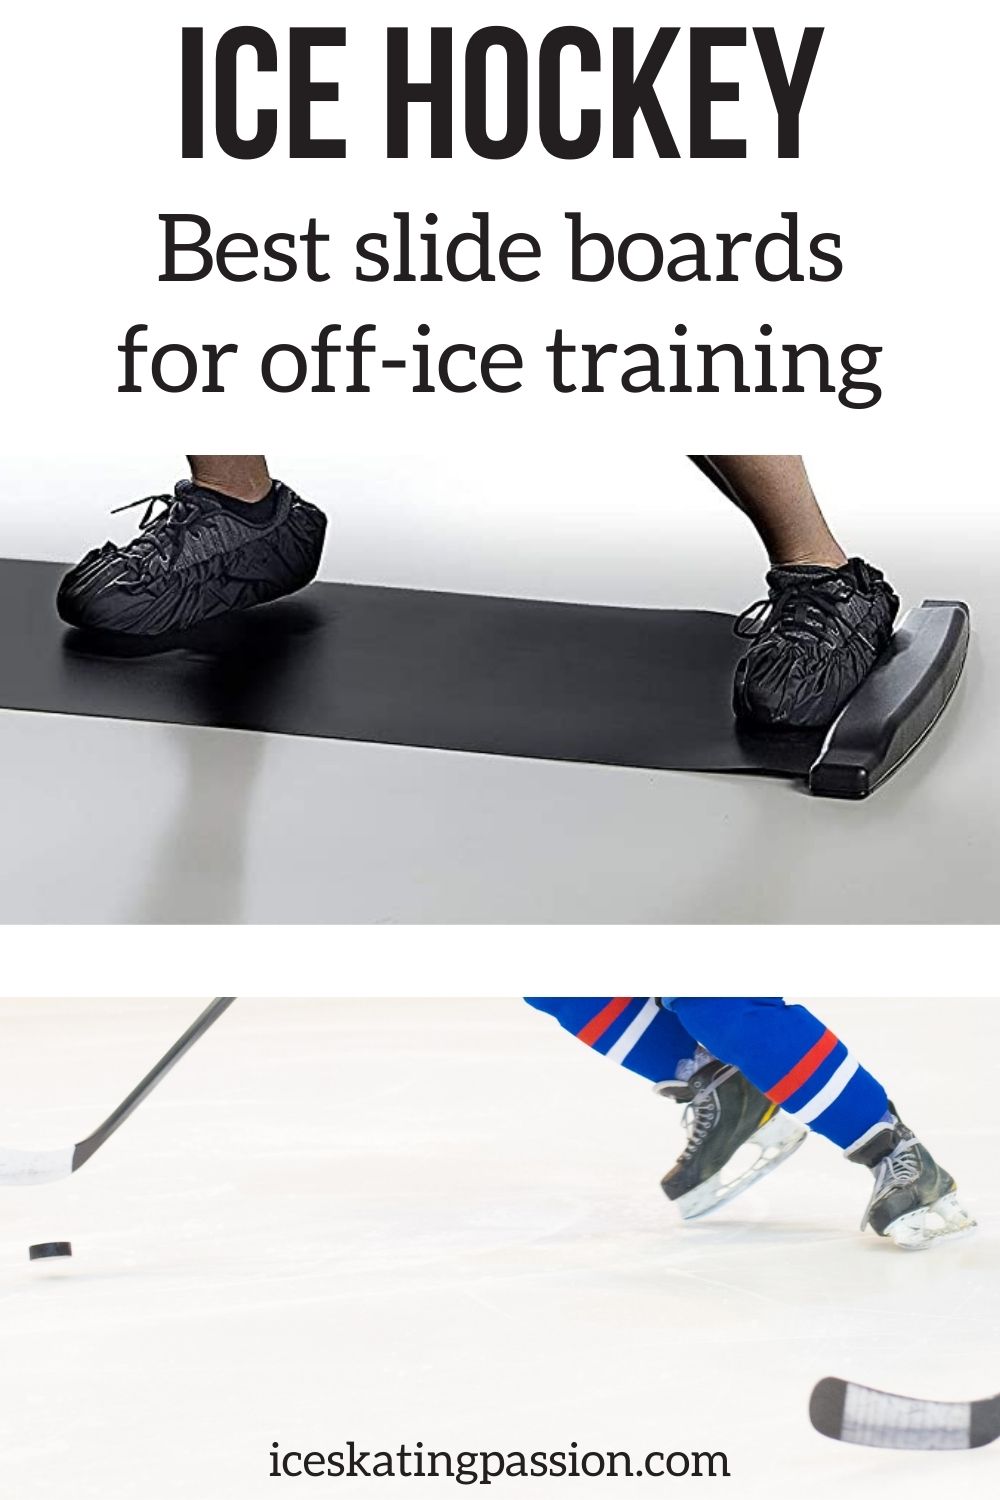
One of the best off-ice training equipment for hockey players is the slide board.
Put the slick surface (with rebounders on both sides) on a flat ground and it allows you to work on:
- Balance
- Core strength
- Skating muscles
Plus, you can use it in combination with a shooting pad to imitate the moves of ice hockey
Below is a summary of my section of slides boards for hockey players. Detailed specifications and reviews are further in the article (plus exercises suggestions).
Best slide boards for hockey players
- Criteria - slide-ability, length, durability (learn more further in this article)
- Pros of a sliding board kit - easy to move around (practice anywhere!)
- Note - brands specific to hockey have created their own versions. They don't have extra features special to hockey, it is basically the same concept. However, they are often found more stable and can adapt in length.
With hockey branding - adjustable length:
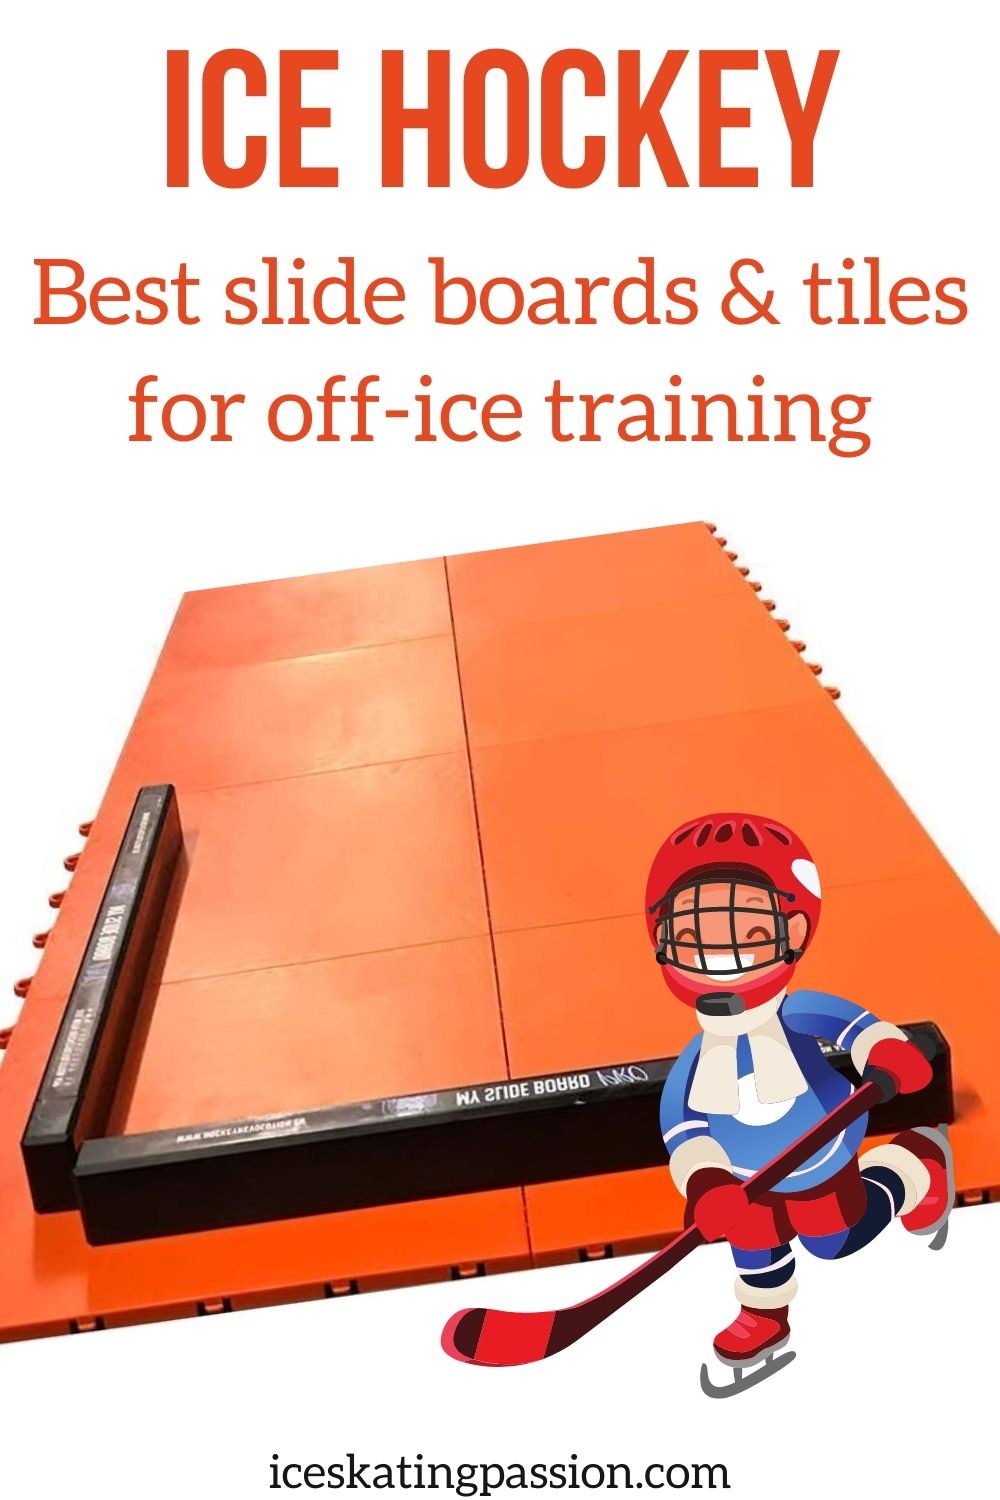
Best hockey training tiles to slide
- Instead of a single product board, you can opt for hockey tiles to create your sliding board
- Pros: the size you want (adapt to your size and stride) and can be adapted to different shapes for a variety of exercises, can also be used for shooting and stickhandling practice
- Cons: more expensive, more difficult to transport
At the end of this article, you can also see instructions to build your own DIY slide board.
And if you really want to feel like skating at home (and you have the space), consider installing synthetic ice tiles (learn more here).
Criteria to choose your hockey training slide board
Why hockey players should use a sliding board?
A slide board is a flat and slick surface with rebounders on each side that allows you to slide from one end to the other (with specialized footwear).
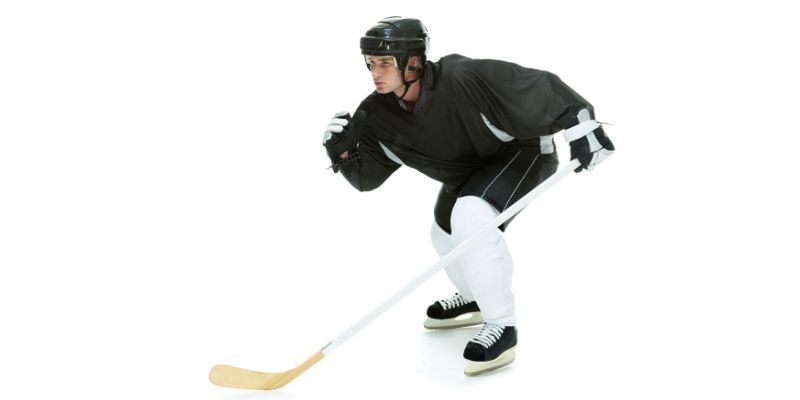
It mimics the skating motions as much as possible, focusing on posture (bending ankles, knees, back, arms...)
They can make you work out almost every muscle in the body. A great tool for off-ice hockey training!
The overall benefits of exercising on one are:
- Lateral changes of direction and high-speed acceleration (agility) with minimal joint impact
- Improvement of endurance
- Strengthening of the plantar and dorsal muscles of the foot, and the ankle ligaments
- Improvements in lower body strength, especially the abductor and adductor which is good for the knees
- Improvements in hip functionality
- Burning over 700 calories in one hour if doing challenging exercises.
So, what does it mean for hockey players? How does that help?
- Work muscles used for skating - especially the extensor muscles for a strong stride
- Improve speed
- Improve reactivity in lateral changes of direction, essential to hockey player
- Strengthen hip abductors and adductors to prevent injury
- Help to “cut” or “turn on the dime” on the ice
- Strengthen muscles to maintain the bent posture position
To be able to practice, you need a good quality slide board. Below are the criteria to look for when choosing yours.
Slide-ability
The first criteria to look at is the material used for the sliding surface.
How good is it for sliding? (noting that it will never be as good as ice!)
Most products are made of PVC. Let's be honest, it is a product that you can roll and transport, so of course there is a compromise. Reviews can be harsh because people expect the impossible (price, transport, strength, perfect slide...).
However, check out reviews to see what most people think of the slide-ability.
Length
There are several lengths of slide boards.
The small ones are really only for little kids.
Teens and adults should always take the longer ones to get the full benefits of the board. Otherwise, you are very limited in the types of exercises that can be done.
Around 6 foot - 71 inches - 1.80 m is a good size for full practice.
Note: the width is often quite standard, it does not have a major impact on your use of the product.
Transportability
How easy is it to transport?
Make sure the options fit with your training plan and lifestyle.
If it always stays at the same spot for your training, you will have more choices than if you want to take it outside in a park or at the gym to set it up.
Reviews of best hockey sliding boards
Review - SPRI Slide Board
- Length - 71in
- Width - 20in
- Color - Black
- PVC surface with excellent slide-ability reviews
- Transport bag - yes
- Booties - yes (one size fits most)
- Sold with an exercise guide
This is one of the best reviewed sliding boards on the market. The quality/cost ratio is excellent.
Plus it comes with an exercise guide to get your started.
Review - Balance 1 slide board
- Length - 6ft or 7.5ft
- Color - Black, Blue, Red - for different height recommendations
- Has anti-slip surfaces at each end
- Cheaper - slide-ability reviews are not as good as the SPRI but still correct
- Transport bag - yes
- Booties - yes (one size fits most)
A more affordable option but not for intensive use.
Review - Better hockey Extreme slide board
- Length - 8ft long (96in) - adjustable
- Color - Black
- Heavier but helps with it does not slide on the ground
- Transport bag - yes
- Booties - yes - comes with 3 pairs in 3 sizes
It claims that more than 100 players in the NHL train with it.
Because it is quite long, it is great for taller players. And it is adjustable, so everyone can use it at its perfect size.
Review - Hockeyshot Slide Board Pro
- Length - 2 sizes: 8 in or 10in - adjustable
- Width - 22in
- Angled rubber bumper for better push-offs
- Booties - yes (large size: 8 to 12)
- Transport bag - yes
Well known hockey tool brand.
The 10in is great for taller players. And it is adjustable, so everyone can use it at its perfect size.
Reviews of best hockey sliding tiles
If you want a product that is more flexible you can use:
- Hockey training tiles
- With bumpers
- And wear booties
Originally those products are made to practice stickhandling and shooting (like shooting pads) but they are quite versatile and can be used for more off-ice practices in combination with other off-ice training tools.
Review - Hockey Revolution training tiles - Lit or Pro
- 20 orange tiles (13in x13in) and 4 stoppers - adjustable to any length (for the adult size) - or 12 slides and 2 stoppers (for kids)
- high quality
- Booties - yes
- Plus 2 antislip rubber mats
The main advantage is that you can create the length and shape you want for a variety of exercises.
Plus, it locks with the traditional My Puzzle tiles to create a whole area for training.
6 Slide board exercises for hockey players
Before sharing any exercises with you:
- Make sure that you can perform such workouts with a doctor or physiotherapist
- Understand proper technique
Proper technique on the slide board
- Warm up (10 to 30 minutes) before using it - to avoid muscle pulls and sprains
- Make sure your laces are tied properly, and your booties are correctly placed all around your shoes
- Always keep your knees bent
- Always keep your head up and arms up (unless specific exercises)
- Start the movement very slow to feel the positioning of your body (and ensure a safe exercise) and then speed up
Now you can start exercising. Your workout should be a mix of exercises. I know it is fun to feel like skating, but you should not do only that during your workout.
#1. Lateral slides
- Stand on one end of the slide board with your foot closest to the bumper up against it.
- Bend your knees and hips - stay low
- Push off the bumper and slide across the board. Swing your arms as if skating.
- Glide until your other foot meets the opposite bumper. Cushion the impact by slightly bending your leg before immediately pushing off
- Repeat in the opposite direction
Once mastered, you can increase the exercise by:
- Carrying a medicine ball
- Wearing weighing elements
- Holding your stick in front of you and controlling the puck on a shooting pad (check out my article for the best shooting pads).
#2. Lateral lunges
- Stand with the right foot off the end slide board (without the bootie) and the left foot on the board (with the bootie)
- Slide the left foot on the board (keep feet parallel) while bending the right leg (keep the knee above the toe)
- At the same time lunge forward with a straight back
- Slide until your reach 90°Angle
- Slide back up
- Repeat and then switch leg
- Maintain proper form!
Once mastered, you can increase the exercise by:
- Carrying a weight but only with the arm on the slide board side and keeping it centered
#3. Reversed lunges
- Stand with one foot off the board and one foot on the board facing a bumper
- Arms up at your chest
- Slide one foot backward with a slight bend
- Extend as far as you can while keeping your balance (best until front leg is bent at 90° Bend)
- Stand back up
- Alternate legs
Once mastered, you can increase the exercise by:
- Carrying a weight but still at chest level
#4. Mountain climber
- Knees down on the board
- Hold one of the bumpers with your hands
- Go up on your toes, keep spine aligned
- Slide each foot to full extension alternatively, like climbing a mountain
#5. Back push
- Lay down on your slide board
- Arms slightly away from our body on each side
- Slide your feet back under your bottom
- Beware! Push is with the leg, not a pull from the back
Once mastered, you can increase the exercise by:
- Having your arms further away from your body
- Doing it on one leg (the other one being straight up, aligned with the bent one)
#6. Sliding plank
- Move into plank position on the slide board
- Keeping your arms in the same spot, slide backwards while not falling on the ground
- Slide back up to original position
3 steps to take care of your sliding board
1. Store it properly
The material must keep its integrity.
Always keep you slide board in a clean, dry and temperate room.
Protect it from any moisture and dust.
2. Set up
When setting up your slide board for practice, try the following:
- avoid direct sunlight for too long (to prevent warping of the surface)
- always set up on a flat surface without any rocks or uneven elements below
- set it up on a clean and dry surface
- never use it without the proper slippers - do not walk on it with normal shoes, you may create scratches on the surface
- And do not wear your slide booties outside of the slide board!
3. Clean it frequently
And, of course, you should clean it regularly to remove dust and maintain the sliding surface
- Clean it regularly with a clean towel and warm water - allow it to dry before use
- Once in a while treat the surface with a silicone spray or a slide polish - But always check recommendations on the manual first!
DIY sliding board
If you have a limited budget or just like doing things yourself, you can create a DIY slide board.
However, there are good chances that it won't slide as well.
Here are some instructions (improved from here):
Materials (around 25 USD)
- 4'x8' sheet plywood - Quantity 1
- 4'x8' board of melamine (white board) - Quantity 1
- 2x4x8 piece of wood - Quantity 1
- Liquid nails
- 3/8" x 3" machine bolt - Quantity 8
- 3/8" wingnuts - Quantity 8
- Piece of foam (at least 2' long)
- Strong glue
- Silicon lubricant or furniture polish
- Antislip material (optional)
Tools
- Measuring tape
- Circular saw
- Caulk gun
- Drill
- Clean cloth
Instructions

- Cut both boards to the length you need - it depends on your height (most boards are around 8 feet, but you can find between 6 and 12) - if you are not sure, know that you can place the bumper where you want at the end
- Cut both boards to half width - 2 ft is enough for the width of the slide board
- Set your plywood flat on the ground - remove any dust or pieces of wood above
- Run liquid nail all around the board at about 3/4 inch of the edge
- Run liquid nail on the whole board drawing waves
- Place the melamine board on top of the plywood (white surface facing the top) - apply pressure evenly to stick both boards together (you can walk over it wearing booties or socks)
- Let the liquid nail dry out
- ---
- Cut the 2x4 to fit the width of your board
- Drill 3/8" holes at both ends (not too close to the edge - 1" to 2" from the edge)
- Line up the 2x4 with the edges of the board and drill all the way through
- Bolt from below and fix with the wingnuts above
- Try to slide and find the right position to do the same on the other side - or drill several holes at various distances to make it adjustable (to be used by different people)
- Glue a piece of foam inside each bumper (to cushion the bump)
- Clean up the melamine
- Apply silicon lubricant or furniture polish onto the surface
- Rub it in every little corner
- Wipe away the excess product
- Let it dry out completely
- Reapply silicon lubricant or furniture polish to the surface - as needed after multiple uses.
- Optional - attach or place anti-slip material under the board
Get slide board booties
Medical shoe covers without anti-slip material - or booties from fitness store
Complete your hockey equipment set!
Other protective gear to get for hockey players:
- Best hockey helmets - read article
- Best hockey gloves for players - read article
- Best hockey mouthguard - read article
- Best hockey shin guards - read article
- Best hockey elbow pads - read article
- Best hockey shoulder pads - read article
And if you want to work out off ice:
- 10 essential elements to cover in your off-ice workouts - read article
- 10 best off-ice hockey training equipment - read article
- Best hockey shooting pads and tiles - read article
- Best synthetic ice for hockey players - read article
- Best net targets and shooting tarps - read article
- Best hockey passers and rebounders - read article
- Best balance boards for hockey players - read article
- Best stick handling tools - read article
Share it on your favorite social media!
