Are you wondering how to clean hockey gear? This detailed article will have you covered.
The ice hockey equipment set is not cheap and it is a breeding ground for bacteria and stinky odor (because of sweat and ice).
Taking proper care of ice hockey equipment and washing and cleaning it regularly is imperative to get the most out of it.
Below is my guide to help you safely clear gloves, pants, pads, helmets and jerseys...
This article contains affiliate links. If you purchase using my link, I get a commission at no extra cost to you (more info here).
How to clean hockey equipment - 12 General rules
In this article, I will get into more details on how to clean each piece of equipment as the process is different.
But overall, here are the rules you should keep in mind:
How often should you wash hockey gear
- Soft gear like jerseys, socks, base layers, etc., must be washed before every use.
- Hard gear or protective gear must be washed at least once a month.
- Helmets and skates should be cleaned regularly
- Develop a pre-use and post-use ritual and allocate time for it. Never rush the process, as not giving proper time to look after your gear is the quickest way to damage it.
How to clean and dry hockey gear
- It is best to use cold water to clean hockey equipment as the equipment is not built to withstand heat and can get instantly damaged.
- You can clean most hockey gear using your washing machine, sink, or bathtub
- Helmets, skates, blocker and trapper can’t be washed like other gear in a bathtub or a washing machine - no soaking!
- Before throwing your gear in the washing machine, close the velcros to avoid snagging and damaging other equipment.
- Bleach should be strictly avoided when washing hockey gear.
- Don't overload the washer
- It is best to use a hockey equipment drying rack to dry out hockey gear. Always hang or place the gear in their dedicated spaces. For gloves, it is best to use a glove drying rack.
- Hockey gear must be air-dried. The use of a dryer should be avoided as the dryer uses heat that can damage hockey gear.
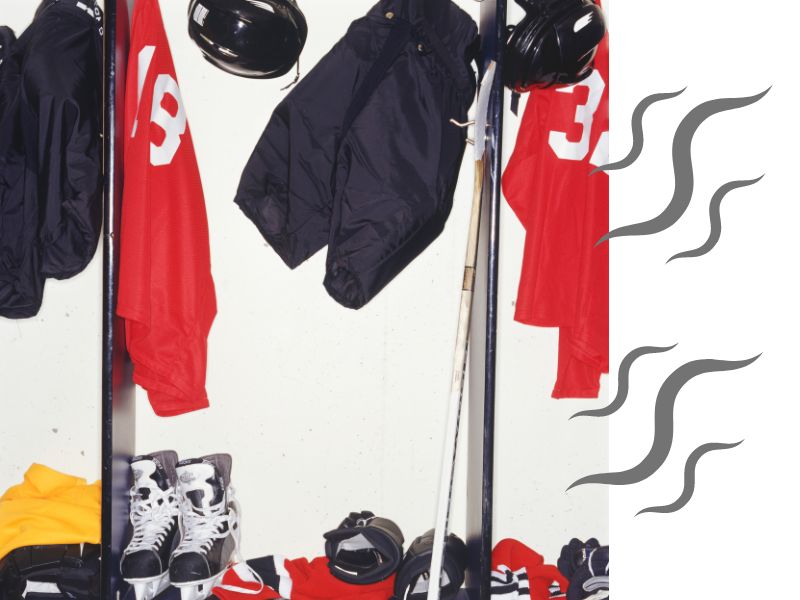
How to reduce the "rink stink"
- Wear base layers to create a moisture barrier
- Wipe down the inside and outside of all your pieces of equipment as soon as possible after practice - this include the bag
- Consider vinegar as a natural odor neutralizer - Combine a teaspoon of vinegar with 2 cups of water in a spray bottle then lightly mist the air. It smells vinegary at first (of course) but dries leaving no bad smells or vinegar scent.
- Dry all your equipment out
How to dry hockey equipment
Drying hockey equipment the right way is critical. Improper drying can result in damage and shorten the equipment's life.
Here are a few general rules to follow when drying out hockey equipment:
- Dry out hockey equipment after every use
- Dry the equipment in a well-ventilated space that’s airy and dry
- Use a drying rack to dry the equipment for all-round ventilation
- If using a drying rack is not feasible due to limited space, hang out all the gear in a well-ventilated area.
- Use a table fan for quick drying.
- Avoid using heat to dry out gear that uses pads, gels, and foam.
- Use a dryer to dry only soft equipment like jerseys, socks, etc.
- Do not put gloves, shin pads, and other hard equipment in the dryer.
How to store hockey equipment
Cleaning, drying, and storing hockey equipment are all critical aspects of ensuring the longevity of your hockey gear.
There are a few rules for storing hockey equipment between practice sessions or during the off-season.
How to store hockey equipment between practice sessions:
- After every hockey practice session, take out all the equipment. Wipe, clean, and dry the equipment thoroughly.
- Wipe the hockey equipment bag and dry it out completely. If required, let the bag dry out inside out.
- After all the equipment is completely dry, store it inside the hockey equipment bag.
- Store all the gear in their dedicated area. In the case of a hockey duffle bag, store the gear you wear at the end at the very bottom and the gear that you put on first at the top.
- Store your skates in the dedicated skate compartment inside your hockey bag or store them separately in a skate bag.
- Store your stick in a stick bag
- Keep the hockey bag with the equipment stored in it closed when not in use to prevent unwanted rodents and pests from entering.
- Always store the hockey equipment bag in a well-ventilated, dry area. Avoid storing the bag in humid, wet conditions as it can result in the development of mold or a musty smell.
How to store hockey equipment during the off-season:
A major reason for the development of mold and long-term damage to hockey gear is improper gear storage during the off-season. Hockey equipment that’s not stored properly during the off-season can result in mold development, deterioration of pads, and the growth of a musty smell that’s hard to get rid of.
That’s precisely why you must follow the below rules when storing hockey equipment that’s not likely to be put to use for months together.
Never leave your hockey equipment in the hockey bag without cleaning and drying out the gear completely.
- For long-term storage, choose a storage area
- that’s preferably out of the way and not like a garage or a dedicated gear closet.
- That’s well ventilated and dry
- That does not get damp at all
- That will keep your gear safe from bugs, rodents, and insects.
- Do not store your hockey gear in your hockey bag during the off-season. (However, if you have space restrictions and need to keep your gear in the bag, check it every few months for dampness or other damage)
- Before storing hockey gear, always purge old, damaged, and broken equipment.
- Store hockey gear neatly in individual spaces for each type of equipment. Hang all your gear neatly (if you have space restrictions) or store them in category-wise bins and boxes.
Now, you will find specific tips on how to wash hockey equipment. A detailed explanation of how to wash hockey gear is given for each individual type of gear.
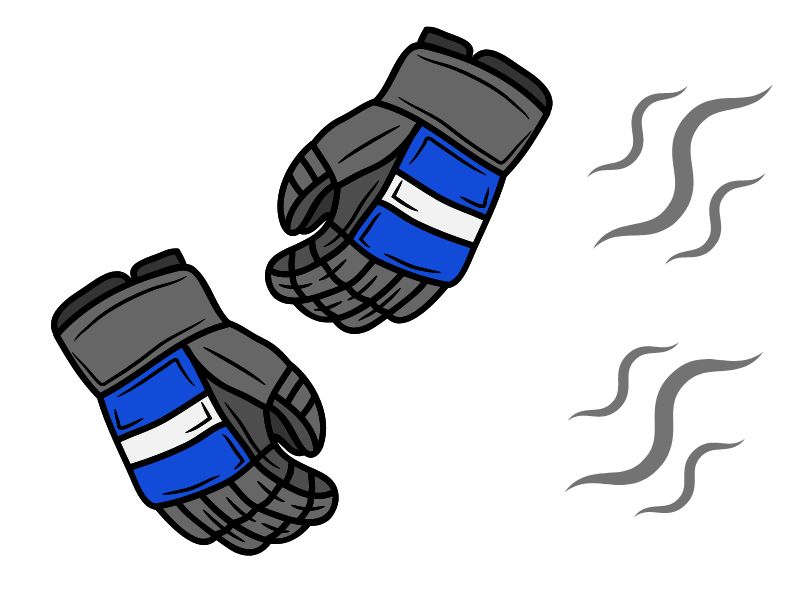
How to clean hockey gloves
Gloves are one of the smelliest hockey equipment and the trickiest to clean because of the different elements that make up a glove.
The leather, padding, and outer fabric are all susceptible to damage, tearing, and cracking if not handled properly.
Here are a few tips on how to clean hockey gloves:
Cleaning hockey gloves without washing
If you do not have the time, skill, or the patience to wash hockey gloves properly, you can quickly make the gloves feel clean and dry by following the process below:
- Wipe dry the gloves completely after use.
- Spray a gentle deodorizer on the inside and outside of the gloves.
- Let the gloves air dry completely. Make sure you dry them with the palms facing up or out. If possible, use a dedicated glove drying rack for this.
Machine washing hockey gloves:
To machine-wash gloves:
- Close the velcros before putting the gloves in the machine
- Put the gloves on a cold cycle.
- Add a laundry booster or antibacterial and a detergent - but make sure there is no bleach in the ingredients
- Wash for any cycle between 30-60 minutes
- It is safe to put the gloves through the spin cycle.
Hand washing hockey gloves
- Fill a bathtub or a large bucket with cold to lukewarm water, detergent, laundry booster, or antibacterial - but make sure there is no bleach in the ingredients
- Let the gloves soak for at least 15 minutes.
- Rinse off extra water
How to dry hockey gloves
- Air dry hockey gloves - do not use a dryer
- Use a gloves drying rack or a hockey equipment rack, if possible.
- Make sure that the palms stay face up while drying.
- Ensure proper airflow inside the gloves
- Use a house fan to accelerate the drying process
What to avoid when cleaning gloves
- Avoid using hot water when cleaning gloves as it can damage the palms.
- Avoid using heating devices like a hairdryer or dryer to dry out gloves.
- Avoid placing the palms facing down when drying.
- When drying gloves, do not place the gloves on any heated or hot surfaces.
- Avoid using bleach when washing gloves.
- Never keep the velcros open when washing gloves with other gear as it can snag and tear soft gear like jerseys and socks or damage other equipment material
- Don’t overload the machine.
Need to buy new gloves? Check out my articles about:
How to clean hockey pants
Washing hockey pants is a relatively straightforward process.
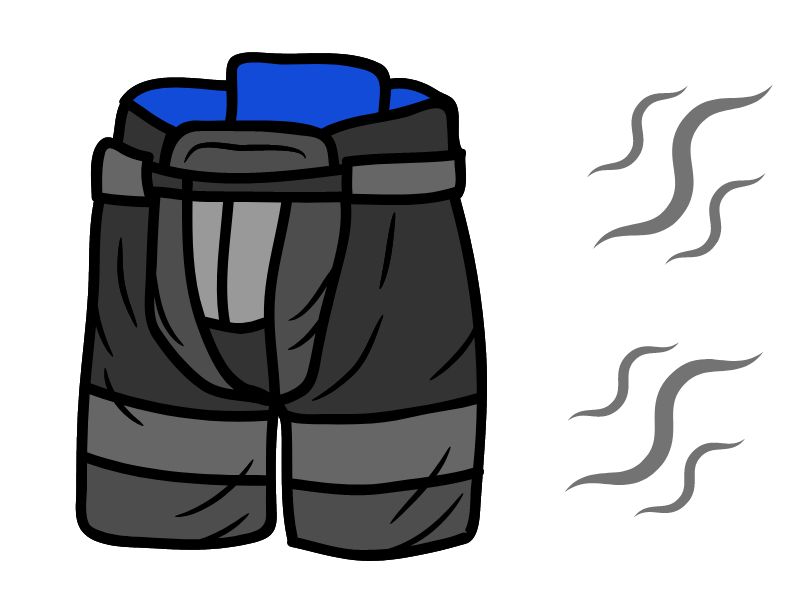
But there are still some process rules to follow.
- Always dry hockey pants after every use
- Put the pants in the machine along with other soft equipment like jerseys, socks, under armor.
- Add detergent, laundry booster, and any antibacterial.
- If the pants are particularly stinky, let them soak for at least 15 minutes.
- Add vinegar to remove the stinky odor
- Run a gentle wash cycle
- Hang them on a clothesline for air-drying. Alternatively, use a hockey equipment drying rack to dry out the pants
When washing hockey pants, some points to remember are:
- Never use bleach or any detergent with a bleaching agent (especially when washing hockey pants with other gear)
- Check manufacturer’s instructions for any special care requirements
How to clean hockey pads (shoulder, shin and elbow pads)
Hockey pads, or, more specifically, hockey shoulder pads, shin pads, or elbow pads, are the protective gear used in ice hockey.
It is recommended to wash all protective gear once a month if you use it regularly.
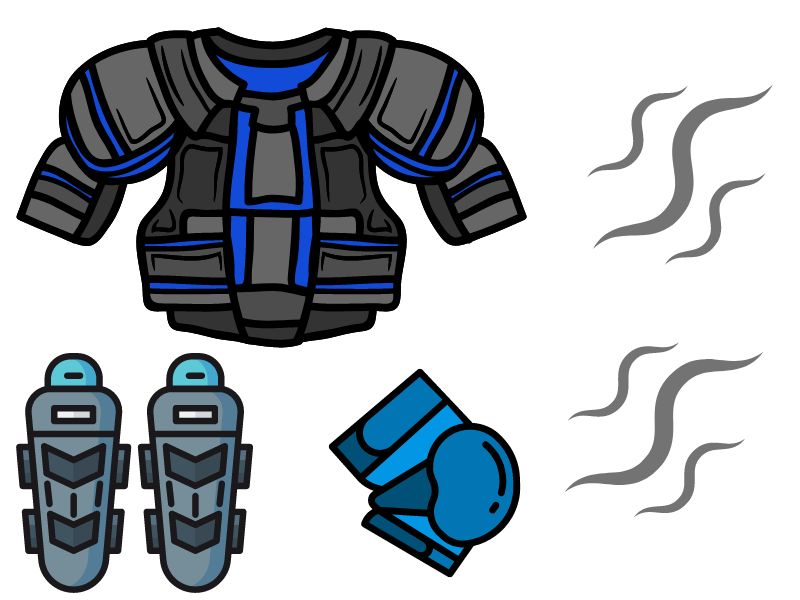
How to clean shoulder pads, shin pads, and elbow pads without washing:
Since you do not wash protective gear frequently, it is essential to keep it clean between washes to prevent accumulation of dirt, bacteria, and foul odor by:
- Taking out all the gear from the bag between two sessions
- Letting the gear air dry completely before every use. You can invest in a hockey gear drying rack to ensure proper all-round drying.
- Spraying a gentle deodorizer on the gear to prevent a build-up of bad odor.
How to wash shoulder pads, shin pads, and elbow pads:
- Fill up a bathtub with lukewarm water.
- Add your favorite detergent, laundry booster, and antimicrobial - but make sure there is no bleach in the ingredients
- Ensure that all the add-ons mix properly with water. You may have to wait for about 10 minutes for the mixture to blend evenly.
- Soak your shoulder pads, shin pads, and elbow pads for about 30-60 minutes.
- Drain the tub and wash off excess detergent using normal water.
Many players also use a washing machine to wash their protective gear. If using a machine, remember to run it on a cold or lukewarm cycle of about 3-60 minutes. Do not overfill the washing machine. Leave enough room for the gear to move freely to achieve proper cleaning.
How to dry shoulder pads, shin pads, and elbow pads
- To dry protective gear, it is best to use a drying rack
- If a drying rack is not available, lay all the gear on a flat surface or hang them up neatly.
- Let the gear dry out completely. Ensure that the padding on the inside also dries fully.
- To accelerate the drying process, use a house fan only. Do not use a heating dryer or any heated surface as this could damage the padding completely.
Need to buy new pads? Check out my articles about:
How to clean a hockey helmet
A helmet is one of the sweatiest of all hockey equipment. It breeds bacteria and is often a cause of forehead skin allergies and irritation.
Therefore keeping the helmet clean, dry, and bacteria-free (as far as possible) is of utmost importance.
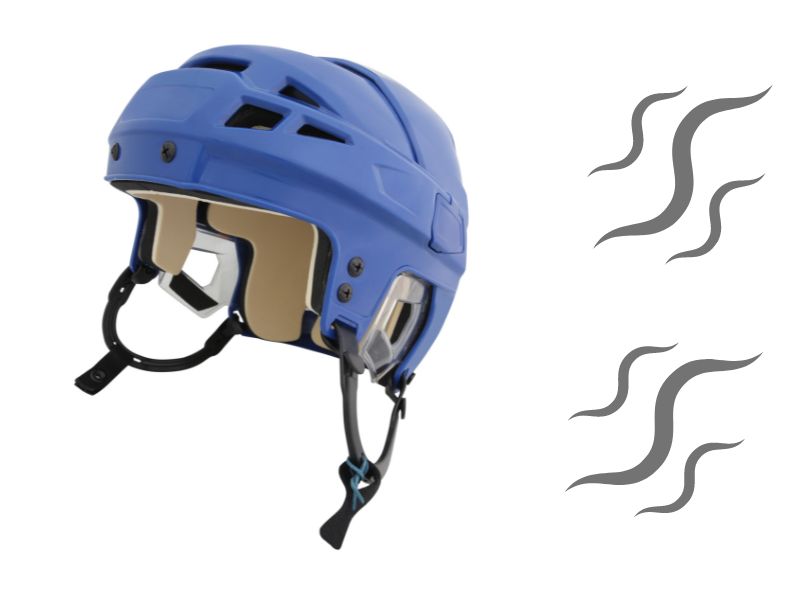
How to wash a hockey helmet
- Take mild shampoo, baby shampoo, or mild dish soap in a bowl.
- Add lukewarm water to it.
- Gently dip a sponge in the mixture and remove excess water.
- Clean the inside of the helmet thoroughly using this mixture
- Clean it using a scrubbing action. Dip the sponge in the soap and water mixture as many times as required to thoroughly eliminate all grime, dirt, and other sticky accumulations.
- Rinse off the soapy mixture from the inside of the helmet using a sponge dipped in clean, lukewarm water.
- Repeat the above steps to clean the outside of the helmet.
How to dry a hockey helmet
- Wipe the inside and outside of a hockey helmet using a clean, dry towel/cloth
- Ball up a towel and place it inside the helmet to absorb excess water
- After the balled-up towel absorbs all the excess water, point a house fan in the direction of the helmet and let it air dry. Alternatively, you can simply leave the helmet on a drying rack in normal room temperature conditions.
Things to remember when cleaning a hockey helmet
- Always clean the inside of the helmet before cleaning the outside of the helmet. If you use the same sponge used to clean the inside of the helmet to clean the outside, you could inadvertently transfer the dirt to the helmet's liner.
- Never rinse off the helmet under running water.
- Avoid using excessive heat to clean the helmet. Do not use hot water at any cost.
- The helmet makes continuous contact with your hair and forehead. Therefore, using a bleaching agent or harsh detergent when cleaning the helmet should be absolutely avoided.
- and let's be obvious: Do not use a substance that you are allergic to to clean the helmet
How to avoid frequent bacteria and odor build-up
Taking necessary steps to prevent bacteria and odor build-up will limit the number of times you need to wash the helmet.
To prevent bacteria and odor build-up:
- Wear a helmet with vents for air circulation
- Wear a layer of sweat-absorbent clothing between your helmet and your head or add a sweat liner
- Dry out the helmet completely before every use
Need to buy new pads? Check out my articles about:
How to wash a hockey jersey
There is a lot of emotion attached to a hockey jersey. Therefore, it is essential to keep the jersey looking fresh and new. The lettering and the colors of the jersey should stay intact as long as possible.
Thus follow the steps below to wash a hockey jersey:
- Treat stains on a jersey with an anti-stain or vinegar. Gently wash pre-treated stains with a toothbrush and wash them off in cold water. Squeeze out the excess water and then throw the jersey in a washing machine
- Throw a hockey jersey in the washing machine with similar jerseys. Avoid throwing in the jersey with other gear to protect it from snags, tears, cross coloration, and discoloration.
- Throw the jersey inside out to protect its lettering and imprinted design.
- Use a detergent with no bleach to avoid discoloration. Fabric softeners too dry out the lettering and logos and make the jersey feel rough when used.
- Run a delicate cycle of cold water. Hot water will bake the imprinted design.
- Immediately turn the jersey right side out after washing to prevent lettering and design from sticking to each other
- Air-dry the jersey to increase its longevity.
Things to remember when washing a hockey jersey
- Hockey jerseys are made for rough use in cold conditions. Overexposure to heat will damage the material.
- Avoid using a dryer to prevent discoloration, shrinking, and other damage.
- Never iron a jersey as it will cause lettering to crack
How to clean hockey skates
No matter what level of hockey you play and how expensive your hockey skates are, a lack of proper care will accelerate the speed of damage to hockey skates.
How to clean hockey skates after use
- After use, wipe the blade with a dry absorbent towel or a leather cloth. Wait for a while, let the blades come to room temperature, and dry out the blades again to get rid of condensation.
- Cover your blades with skater soakers while you carry them in your bag to continue the process of moisture absorption
- After you reach home, take the skates out of the bag. Unlace the skates. Pull out the tongue and let the skates dry out completely.
- If possible, take off the insoles and dry them out separately.
- Spray an anti-bacterial spray on the skates. Alternatively, you could even spray some dry baking soda to keep the skates fresh and stink-free.
Things to remember when cleaning hockey skates
- Always use a fresh, clean towel to wipe hockey skates.
- Never leave a cleaning towel in the bag after use as it will get damp. Reusing a damp towel to clean the blades can cause rusting.
- Clean the entire body of the skate and not just the metal parts and the blade.
- Never wash your hockey skates in a bathtub or a washing machine.
Tips to avoid bacteria, rust, and odor damage of ice skates
- Always dry out your skates completely after every use
- Change laces regularly. Use high-quality laces as much as possible.
- Always wear fresh, clean, moisture-wicking socks under skates to limit bacteria and odor build-up.
- Change insoles regularly
- During the off-season or for long-term storage, avoid storing skates in a humid, damp room or bag.
How to wash a hockey bag
A hockey bag can quickly become a bacteria breeding environment if it is not looked after properly.
Here are a few rules you must follow to ensure that your bag lasts long and doesn’t damage your equipment.
- Always wipe all wet equipment before placing it in the bag
- Use skate pockets to store skates; otherwise, you run the risk of the blades cutting through the bag and the other gear
- Store wet/damp gear in mesh pockets to allow drying
- Wipe your bag regularly after use and in between sessions
- Store the bag properly in locker rooms and car boots. Ensure that the bag doesn’t get squished and that its structure stays intact.
- When not in use, empty the bag completely and let the inside of the bag air dry.
- After the bag dries out completely, zip it up and store it in a dry place. Moisture can damage bags, and bags left open can become home to unwanted rodents.
FAQs
Best detergent for hockey gear
There are hockey specific or high tech clothing specific detergent. But let's be honest, you can use regular detergent as long as bleach is not part of the ingredient.
Powder is better.
Oxiclean is often listed as a favoriteby may.
Can you machine dry hockey equipment?
No. Absolutely not.
All your hockey gear should be air dried.
Complete your hockey equipment set!
Other equipment to get for hockey players:
- Best hockey mouthguards - read article
- Best hockey skate laces - read article
And if you want to work out off ice:
- 10 essential elements to cover in your off-ice workouts - read article
- 10 best off-ice hockey training equipment - read article
- Best hockey shooting pads and tiles - read article
- Best slide boards for hockey training - read article
- Best synthetic ice for hockey players - read article
- Best net targets and shooting tarps - read article
- Best hockey passers and rebounders - read article
- Best balance boards for hockey players - read article
- Best stick handling tools - read article
Share it on your favorite social media!


