So, your kid is growing and making progress playing ice hockey?
Are you wondering what the differences are: youth vs junior hockey sticks?
Wondering when to make the switch from youth to junior?
Below are the main differences and tips to help you make the decision.
This article contains affiliate links. If you purchase using my link, I get a commission at no extra cost to you (more info here).
Youth vs Junior hockey sticks - summary of differences
The main differences between Youth and Junior hockey sticks are:
- Shaft diameter - youth sticks are made for smaller hands
- Stick length - youth sticks are overall shorter, for smaller kids
- Stick Flex - youth have a lower flex number (for more flexibility - it requires less weight to bend)
- Not stick weight - you can find a great variation of weight in both age category (although beginner cheaper sticks are heavier for junior)
- Curves and technical options - there is less choice for youth sticks as kids are mostly beginners - for juniors, your can find many more options in terms of curve, material, number of pieces...
In the article below, I am giving more details to help you make your decision or you can check out:
#1 - Start with age group, but don't fixate on it
Typical hockey stick size charts
All sizing charts for hockey sticks will tell you that normally:
- youth sticks are for players age 3 to 8
- junior sticks are for players age 7 to 12
This is a general overview and does not fit everyone.
However it is a great place to start.
Especially if your kid is 4 years old and only starting hockey, stick with youth. Don't overthink this.
If your kid is in the age covered by both, then the question remains.
If your kid is starting at 4 or 5 years old...
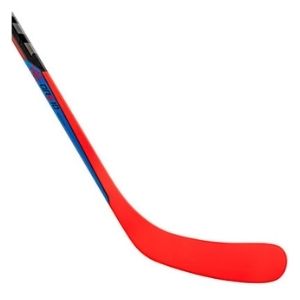
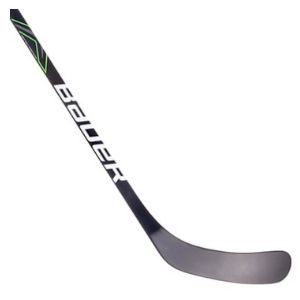
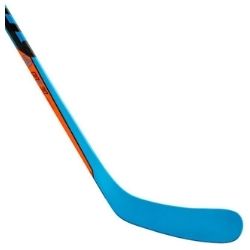
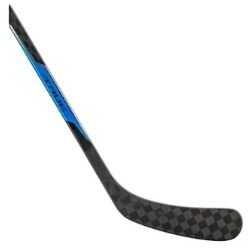
If your kid is starting at 4 or 5 years old, no need to read further, check out these 2 beginner sticks or head to my article about the best youth hockey sticks.
#2 - Main difference between youth and junior hockey stick
The junior one will sit better in his/her hands and help improve.
If this is sufficient to help you make your decision, check out:
Otherwise, keep on reading.
#3 - The length
If your kid is still comfortable holding a youth stick, then you still have a choice to make as both youth and junior could work.
Then look at the length.
How to measure
- Have the player stand straight
- Measure from the ground to under the chin (with skates on) or from the ground to under the nose (without skates)
- Refer to size chart
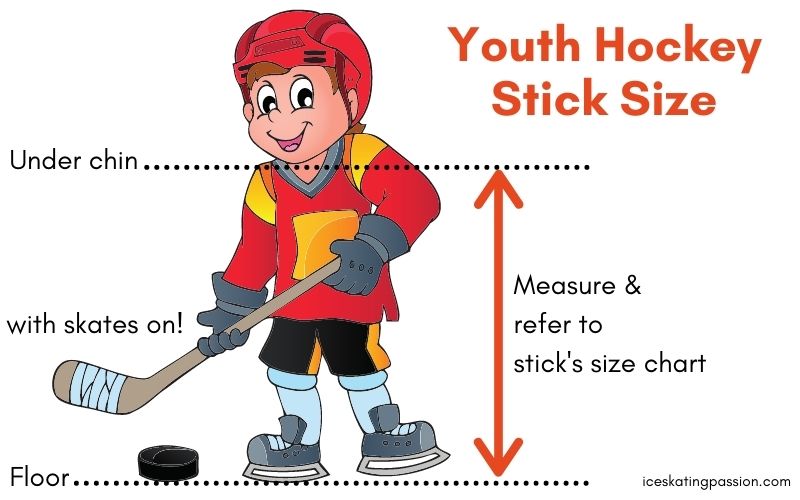
How to check if a stick is the right size
- Have the player stand straight
- Place the toe of the stick on the ground between the feet.
- Position the stick vertically against the body.
- With skates off, the stick should come to the nose - with skates on, the stick should come up to the chin.
When to apply or deviate from this rule?
This is a general rule.
For a beginner player, don't go searching further and apply this rule.
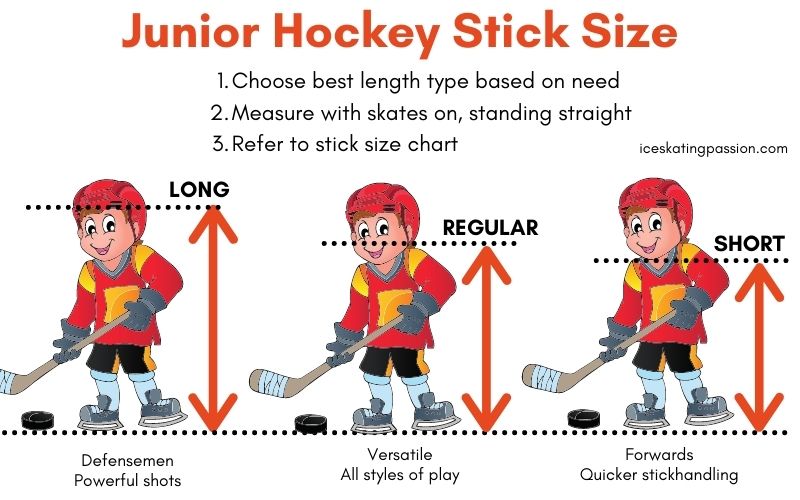
If your kid has been playing for a few years and is starting to show preferences in positions and style of play, then you can consider other lengths:
- Short: A short stick stays under the chin when wearing hockey skates. It is ideal for forwards, quicker stickhandling, and getting out of tricky situations close to the net.
- Regular: A regular hockey stick stays just under the nose when wearing hockey skates. It is ideal for all-round shot-making and suits most styles of play.
- Long: A long hockey stick comes above the nose when wearing hockey skates. This length suits defensemen and taller hockey players as it provides better reach. It also aids powerful shotmaking.
Should I cut the stick to the right length?
Some people rather buy a longer stick and cut it.
Don't do it!
It is absolutely not recommended for young kids. It is going to increase the flex (see next section). The stick is going to be way too stiff for the player.
However, if your kid is starting really young, then the smallest stick might still be too long.
At the beginning, he/she will focus more on learning to skate than learning to use the stick - so you could keep it a little too long while he/she grows.
Otherwise, if you prefer to cut it, pick a 30 flex so that, when cut, it remains quite flexible.
#4 - The flex
Your final criterion is the flex.
- Youth sticks typically feature a 30 or 40 flex.
- Junior features a 40 to 52 flex.
Great, but what does it mean?
What is Flex?
The first thing players should do when picking up a new stick is bending it.
If the player can bend the shaft a little without much effort, it is a good fit, a good flex.
Most players prefer flexible shafts. It should allow the player to bend when taking a wrist shot or a slap shot.
- Definition / Measure
For those who enjoy understanding the technical side of things: the flex is measured as the amount of weight required to bend a stick for 4 inches when it is supported by two points that are 48 inches apart.
- About the Flex number
The higher the flex number, the stiffer the stick.
So a 30-flex stick is a more flexible than a 50-flex. It requires less weight to be bent.
- What impact does it have on the play?
A stick that is too stiff will lessen shot accuracy, reduce puck stick.
A stiffer stick is better to win face-off and to increase shot power.
A heavier player has more weight and requires a stiffer stick. The taller and heavier a player is, the higher flex the player needs.
What do I need for my kid - youth levels of flex or junior levels of flex?
The flex level should match your kid's body size.
As a rule of thumbs, hockey players should use a stick with a flex rating that equals less than 50% of their body weight.
A more flexible stick to start with is fine.
If a stick is too stiff, a young player won’t be strong enough to get any kick, which will lead to poor shooting habits.
Sign that it is time for a higher flex (junior stick):
If your kid is very frequently breaking sticks, it is probably a sign that you should switch to a junior model with higher flex number.
#5 - Material, Curve and other technical differences
Once your kid starts improving, he/she might show signs of:
- position preference
- style of play preference
If that is the case, you might want more options for the sticks in terms of curve, blade pattern, construction (1 piece or 2 pieces), material.
With more options, you can optimize his/her performances
Youth sticks don't have many options. Junior sticks start offering variations.
Learn more about those options in my article about the best junior hockey sticks and the criteria to choose.
For example:
#6 - Growth rate
Hockey stick are an investment. The price ranges vary greatly.
You should consider the growth rate of your kid and not stretching yourself financially too thin for a couple of months of better fit.
If money is no problem, then always pick the exact best stick is great to avoid creating bad habits.
However, a few months with a stick that is not perfect will not damage their skills forever. If your kid is growing fast and will overgrow his/her stick soon, then maybe buying something a little too big or too stiff that will be good in a couple of months could be better for your family.
And don't forget to teach your kid to care of the stick
Step 1 - Tape the stick
- Why?
To protect the blade from damages and also from deterioration on account of moisture build-up.
- When? How often?
Ideally, you must tape your child’s stick immediately after you buy it and then whenever you notice wear & tear of the tape. Thus, depending on the frequency and level of play, you may have to retape the stick every couple of games or once a month!
- Where?
Taping must be done on the blade, on the shaft as well as on the butt.
Step 2 - Carry the stick in a bag
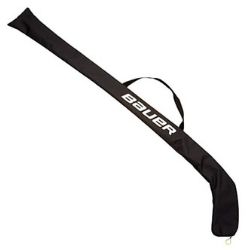
To prevent any damage during storage and commute, the stick is better in a hockey stick bag.
Step 3 - Dry the stick
The stick is constantly in contact with ice and hence runs the risk of moisture build-up. To prevent any damage on account of moisture, the stick must be dried out completely after every use.
To dry the stick, take it out of the bag and place it on a rack in a normal temperature room. Ideally, you should dry out all your hockey equipment on a wall mount.
Step 4 - Wrap the stick if used off ice
If your kid wants to play with the stick on surfaces other than ice, you must, at all costs, wrap the stick using a ‘hockey wrap around ice’ to protect the blade.
Step 5 - Inspect the stick
Regularly inspect the stick for chips, cracks, or the development of small holes.
This is to prevent serious damage and/or breaking of the stick.
Complete your kid's hockey equipment set!
- Best hockey gloves for players - read article
- Best youth hockey sticks - read article
- Best junior hockey stick - read article
- Best hockey helmets - read article
- Best hockey laces - read article
- Best hockey mouthguard - read article
- And check out my 30+ tips for hockey moms - read article
